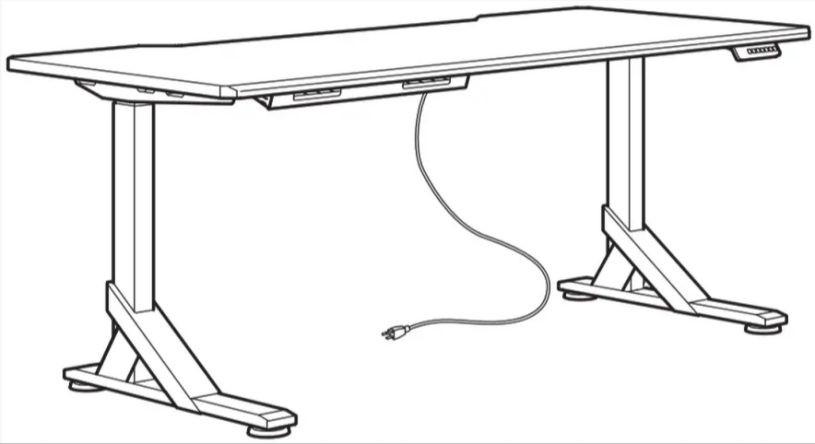
Control My IKEA Standing Desktop (UPPSPEL) From Home Assistant
I managed to score a relatively high-quality standing desk at a decent price. Naturally, the next step was integrating it into Home Assistant.
I assumed it wouldn’t be too complicated—and I was right. As it turns out, others have already reverse-engineered similar setups, so I wasn’t starting from scratch.
The desk’s motor controller includes an auxiliary input intended for an external remote, and fortunately, it communicates over RS-232. That made things significantly easier: no need to hack the internals or simulate button presses. All it takes is sending the appropriate serial commands to the controller.
I hooked up an ESP32 to handle the communication and wrote some lightweight glue code to expose the interface to Home Assistant. The result is a fully controllable standing desk, now integrated into my home automation system.
esphome:
  name: ikea-standing-desk
  friendly_name: IKEA Standing Desk
  on_boot:
    # don't touch if you don't know what you're doing!
    priority: 0 # when mostly everything else is done
    then:
      - lambda: "id(my_desk).request_physical_limits();"
      - delay: 0.1s # give controller a chance to handle the response before sending the next command
      - lambda: "id(my_desk).request_limits();"
      - delay: 0.1s
      - lambda: "id(my_desk).request_settings();"

esp32:
  board: esp32dev
  framework:
    type: arduino

# Enable Home Assistant API
api:
  encryption:
    key: "xxxx"

ota:
  - platform: esphome
    password: "xxx"

wifi:
  ssid: !secret wifi_ssid
  password: !secret wifi_password

  # Enable fallback hotspot (captive portal) in case wifi connection fails
  ap:
    ssid: "Ikea-Standing-Desk"
    password: "xxx"

captive_portal:


external_components:
  - source:
      type: git
      url: https://github.com/Rocka84/esphome_components/
    components: [ jiecang_desk_controller ]

uart:
  id: uart_bus
  tx_pin: TX
  rx_pin: RX
  baud_rate: 9600

logger:
  baud_rate: 0 # disable logging over uart, required when using the RX/TX pins for the controller

# see full example for more options: https://github.com/Rocka84/esphome_components/blob/master/components/jiecang_desk_controller/example_full.yaml
jiecang_desk_controller:
  id: my_desk
  sensors:
    height:
      name: "Height"
    height_min:
      name: "Height Min"
    height_max:
      name: "Height Max"
    height_pct:
      name: "Height Percent"
    position1:
      name: "Position 1"
    position2:
      name: "Position 2"
    position3:
      name: "Position 3"
    position4:
      name: "Position 4"
  buttons:
    stop:
      name: "Stop"
    step_up:
      name: "Step up"
    step_down:
      name: "Step down"
    position1:
      name: "Position 1"
    position2:
      name: "Position 2"
    position3:
      name: "Position 3"
    position4:
      name: "Position 4"
    save_position:
      name: "Save Position"
    move_up:
      name: "Move up"
    move_down:
      name: "Move down"
  numbers:
    height:
      name: "Height"
    height_pct:
      name: "Height Percent"


Resources
- https://community.home-assistant.io/t/upsy-desky-add-your-standing-desk-uplift-jarvis-omnidesk-ikea-to-home-assistant/542200
- https://community.home-assistant.io/t/desky-standing-desk-esphome-works-with-desky-uplift-jiecang-assmann-others/383790
